How do I use Google Authenticator as my 2FA option in OneLogin?
Answer
Adding Google Authenticator as a multifactor authentication method:
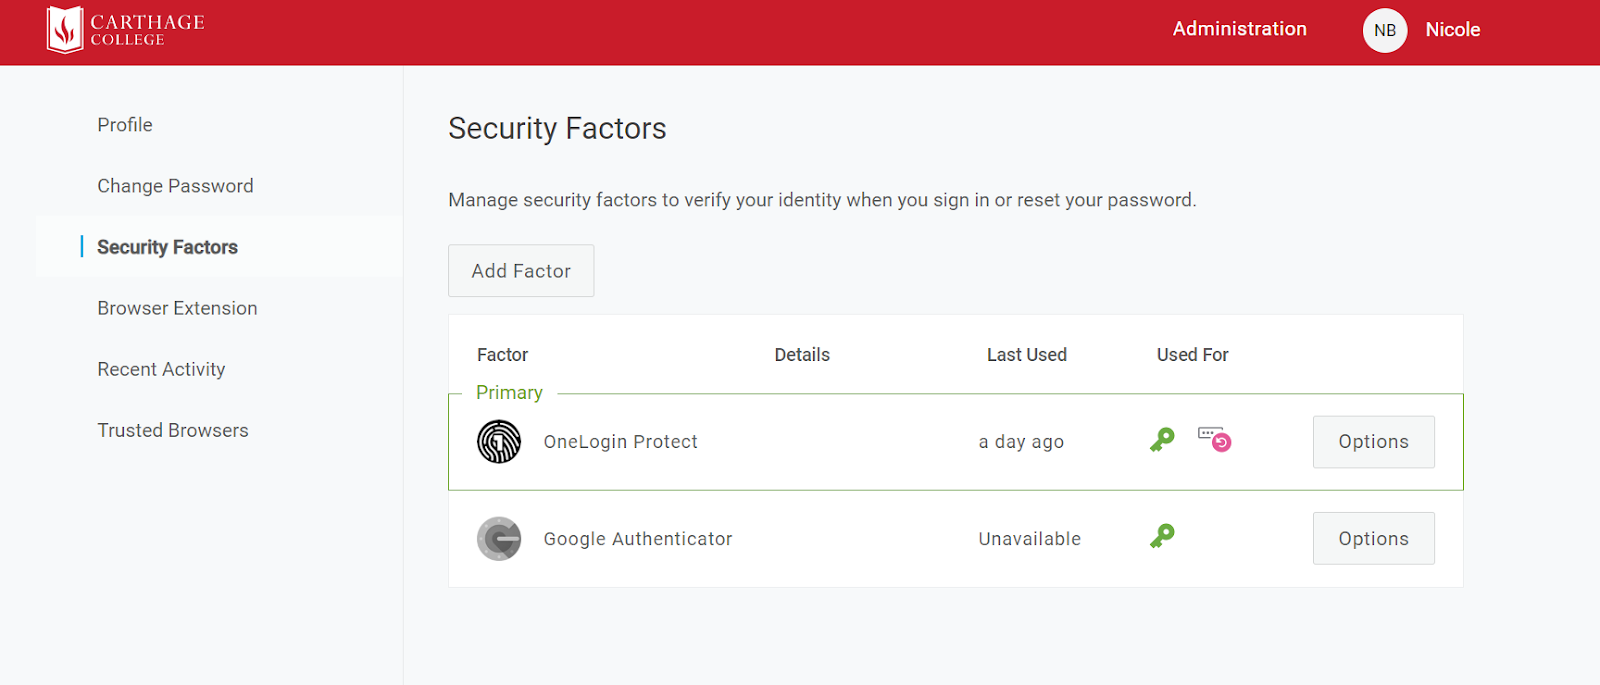
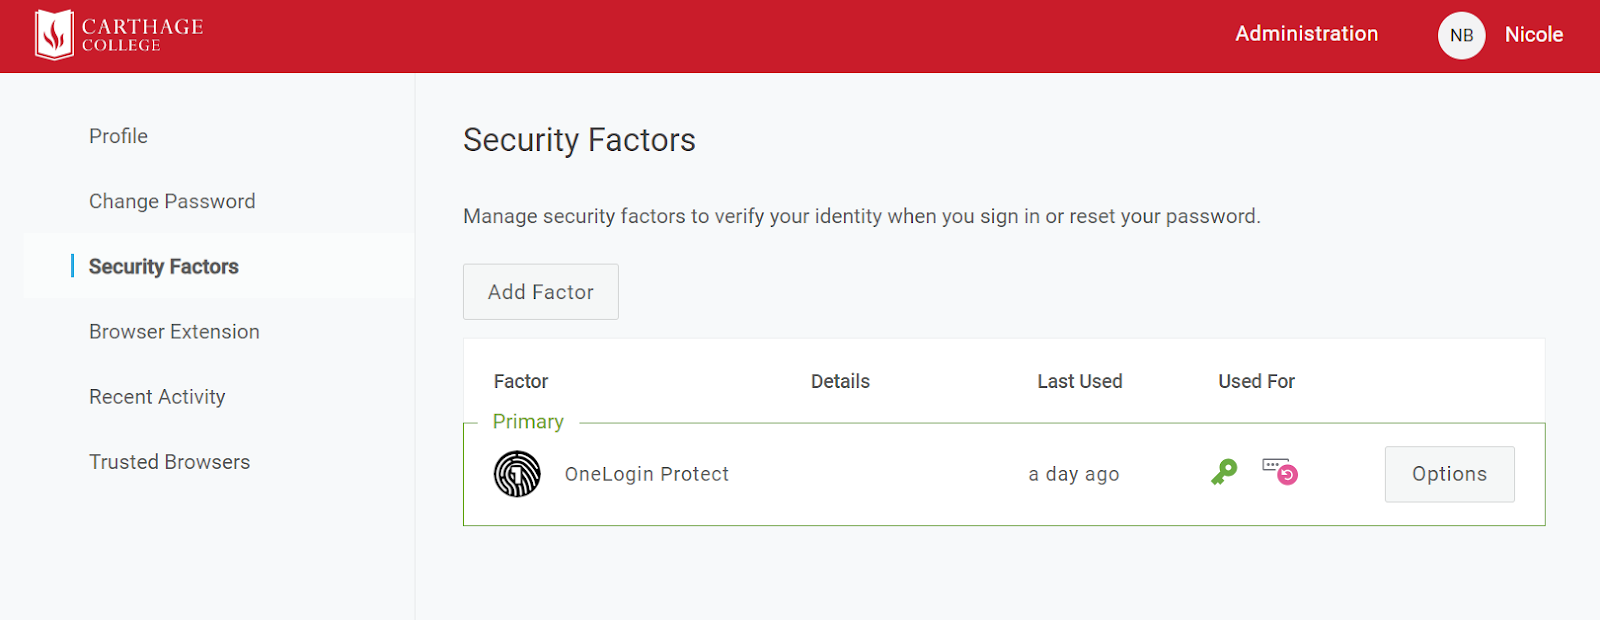
Before starting, make sure you have downloaded the Google Authenticator App on your phone. Sign in to your OneLogin account and click on your name in the right corner of the red banner. Click on “Profile” from the drop-down that appears. Then click on "Security Factors," the third option on the left of the screen.

Click on “Add Factor” and it will bring up the following pop-up on the screen:

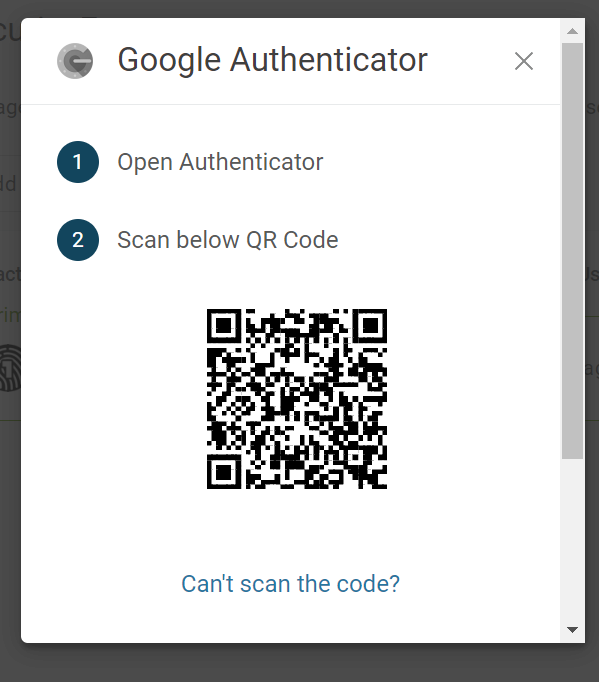
You will then select “Google Authenticator.” After selecting Google Authenticator, this screen will pop up.
Take your phone and open the Google Authenticator app. You can sign in to an alternate Google account (not your Carthage email). This will bring up the following screen on your app:

You will click “Allow.” In the case that you get a new phone, you will be able to sign into this email on the authenticator app and will not have to reset your authentication method.
After signing in, you will click the “+” button on the bottom right of the app. Your screen will look like this:

If you allow the authenticator app access to your camera, you can scan the QR code displayed on the OneLogin screen.
If the app does not have access to your camera, you will need to enter a setup key and select “Can’t scan the code?” on the OneLogin screen. It will then provide you with a key to enter the authenticator app.
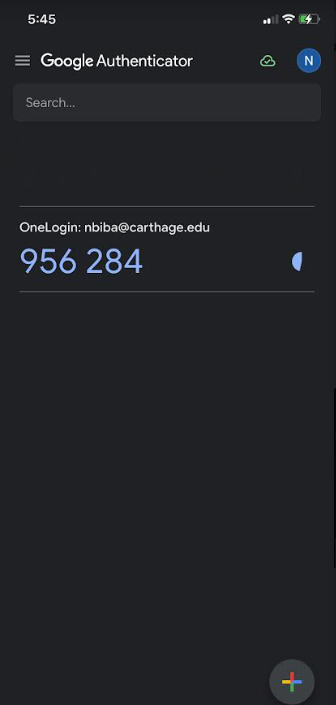
After scanning the QR code or entering the setup key, you will need to enter the code displayed in the authenticator app into the OneLogin screen. Please note that the code generated on Google Authenticator refreshes periodically.
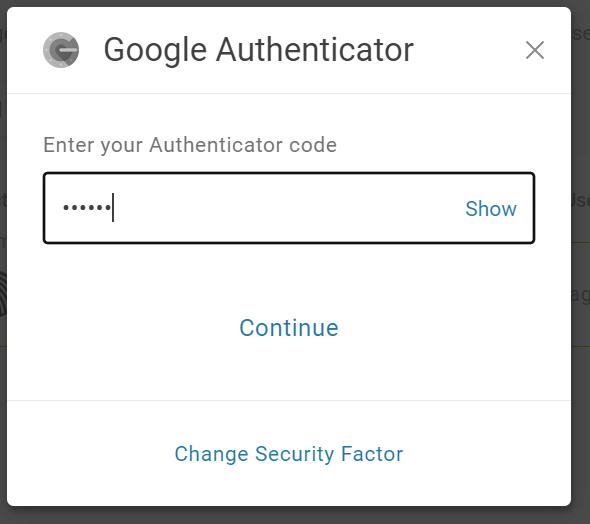
Once you have entered the corresponding code, your OneLogin screen will appear as shown below.